One of the things that we love at Surebonder is DIY items for the house. You can add your own touches and create something spectacular. You can never go wrong with hot glue gun crafts! Today we are creating a fix to an old problem of organizing jewelry. With a little creativity we created a beautiful and functional Branch Jewelry Holder.
When creating a crafts and DIY project with glue sticks the hardest part is adding a new glue stick when you are in the middle of an important part. Surebonder came up with a fabulous solution with the Glue Roll which is a 5' foot long glue stick. This was a game changer!

What you will need:
• a small pot
• floral foam inserts
• gravel
• newspaper
• gold spray paint
• dual temp SUREBONDER® glue gun
• SUREBONDER® glue roll
• xacto blade
• large branches
First lay out the newspaper and spray paint the branches with the gold spray paint. Letting the branches dry in between coats of paint. By adding multiple coats of paint you're sure to have full coverage on each branch. Any craftster knows that with a little patience and multiple layers of paint your project is sure to be stunning. We loved gold for this project but any color paint can be added to make this jewelry holder your own.
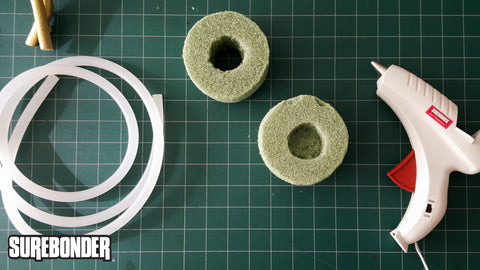
Next take the two pieces of floral foam and cut out the middle of each block, wide enough for both branches to fit. Experienced crafters may not need to mark the area to be cut but we found it was easier to ensure a good fit for the branches.


After the middle of each foam block is cut out, we can now start to assemble our Branch Jewlery Holder. For this project we choose a SUREBONDER® Plus Series Dual Temp Glue Gun. This particular glue gun is ideal for crafts. The multiple temperature settings allow you do use a higher temperature when working with metals, plastics and ceramics. The low temperature allows you to bond more delicate materials such as lace or ribbon.
For this application it is best to use our SUREBONDER® Plus Series Dual Temp Glue Gun at it's low setting since we are working with foam. Carefully glue the branches together inside the foam cut outs then glue the foam together to create a stable foundation for the branches. We found the 5ft glue roll allows you to keep working without stopping which not only cut down on time but also frustration. Craftster win!
Next, we place our branches into the pot. If you need to add more stability to the branches, you can add some hot glue to the bottom of your pot and glue your foam in after you glued your branches in the foam.
The look of foam is not too appealing so we chose to add gravel to the pot so it appears the branches are secured by the gravel. To do this, simply hot glue gravel on the foam. We started in the center of the branches then worked our way out for an easy application.
After the glue sets just add your favorite jewelry pieces. Hot glue crafts can help create beautiful and functional pieces for your home.
If you have any questions or comments please post them below.


